Math & Movement Stencils
So you have just purchased your Math & Movement stencils and are super excited about adding them to your outdoor space. Follow these tips to make installation easy and fun for all involved.
Paint Tips
Look for spray paint that is not acid-based and bottles that say “mural spray paint”. This will give you the least amount of pooling/dripping. Rustoleum oil-based spray paint is a great option. Oil-based paint in cans can also be used. We recommend asking your hardware store if you have questions about the type of surface you are painting on or the amount of paint you may need.
Skip Counting Stencils
Paint Needed (Approximate)
For a full set of skip counting stencils (7 stencils: 2’s, 3’s, 4’s, 6’s, 7’s, 8’s, 9’s), we have estimated the following amount of spray paint. Paint may vary for your project.
Sample Paint Idea (using example 1 set below)
- 4 cans blue
- 4 cans red
- 8 cans yellow
- 2 cans white
- 2 cans black
Alternatively, if you find a source for oil-based, colored paint in cans, the stencils can be rolled on instead of using spray paint. Four-inch rollers are a good width. There will be a space of unpainted ground between numbers. You may leave it or paint it.
We recommend working in groups of 2-3 teachers per stencil if you have multiple stencils you are creating at one time.
Installation Process
Step 1: Sweep the area to be painted.
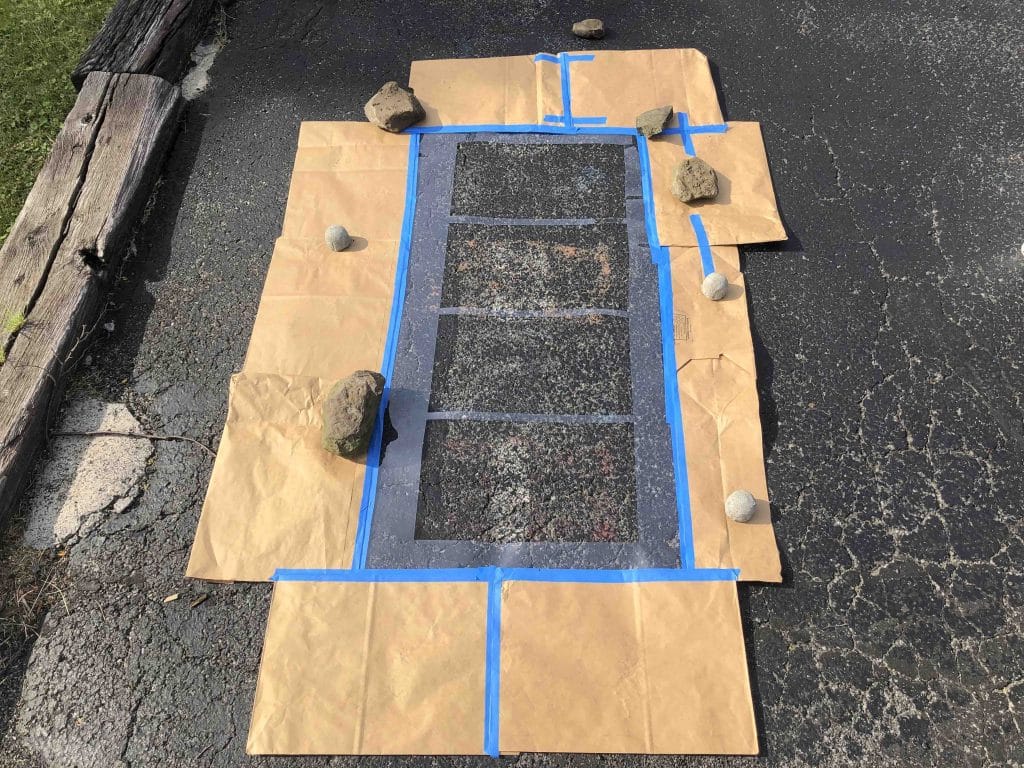
Step 2: Lay down the stencils for the background boxes. These are stencils of large rectangles.
Step 3: Mask the stencil and outside areas (shown right). File folders or paper bags work great for this. Large drop cloths are not necessary as the paint doesn’t drift much.

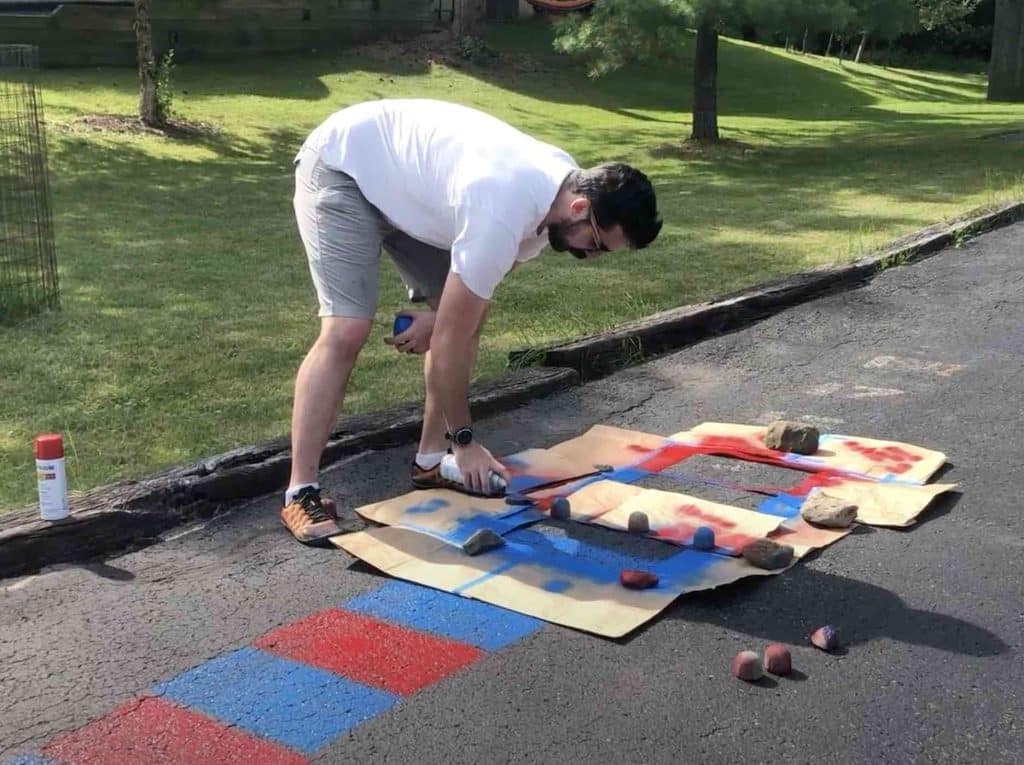
Step 4: Paint the background boxes with your paint choices. (Examples are below for different stencils) Don’t worry about getting some paint on the stencils. That’s unavoidable.
Step 5: Let the background boxes fully dry before painting the numbers.
Step 6: Paint the numbers. (Examples are below for different stencils)
Step 7: Keep children from jumping on your painting until the next day to let the paint fully cure.

The most important factor is how you take care of your stencil. The best way to ensure a long stencil life is to clean the paint off your stencil after you are finished. There is no need to clean the stencil so it looks new, you just need to keep paint from building up around the edges.
Suggestions for Painting the Skip Counting Stencils
Skip Counting by 2s
- For skip counting by 2’s, start by laying out the stencil for the background boxes (not the stencils for the numerals).
- Paint the background boxes in alternating colors. For example, paint the background boxes for the odd numbers in blue and the background boxes for the even numbers in yellow.
- After the paint for the background boxes dries, lay out the stencils for the numerals on each of the painted background boxes.
- Paint the numerals for the even numbers in black and paint the odd numbers in white.
Skip Counting by 2s Example 1:

If you would like to add more color, ONLY paint the background boxes of the odd numbers with a variety of colors. For the even numbers, paint the background boxes in the same color to help students remember the multiples.
Skip Counting by 2s Example 2:

Skip Counting by 3s
- Paint the multiples of 3 in black with a yellow background.
- Paint the numerals for all numbers that are NOT multiples in white.
- Paint the background boxes of the non-multiples in two colors, red and blue.
- For example, paint the background for the number 1 in red and paint the background for the numeral 2 in blue.
Skip Counting by 3s Example 1:

Please note that there are many correct ways to paint the skip counting mats from the stencils. Please share pictures of your stenciled creations with us!
Have more questions?


