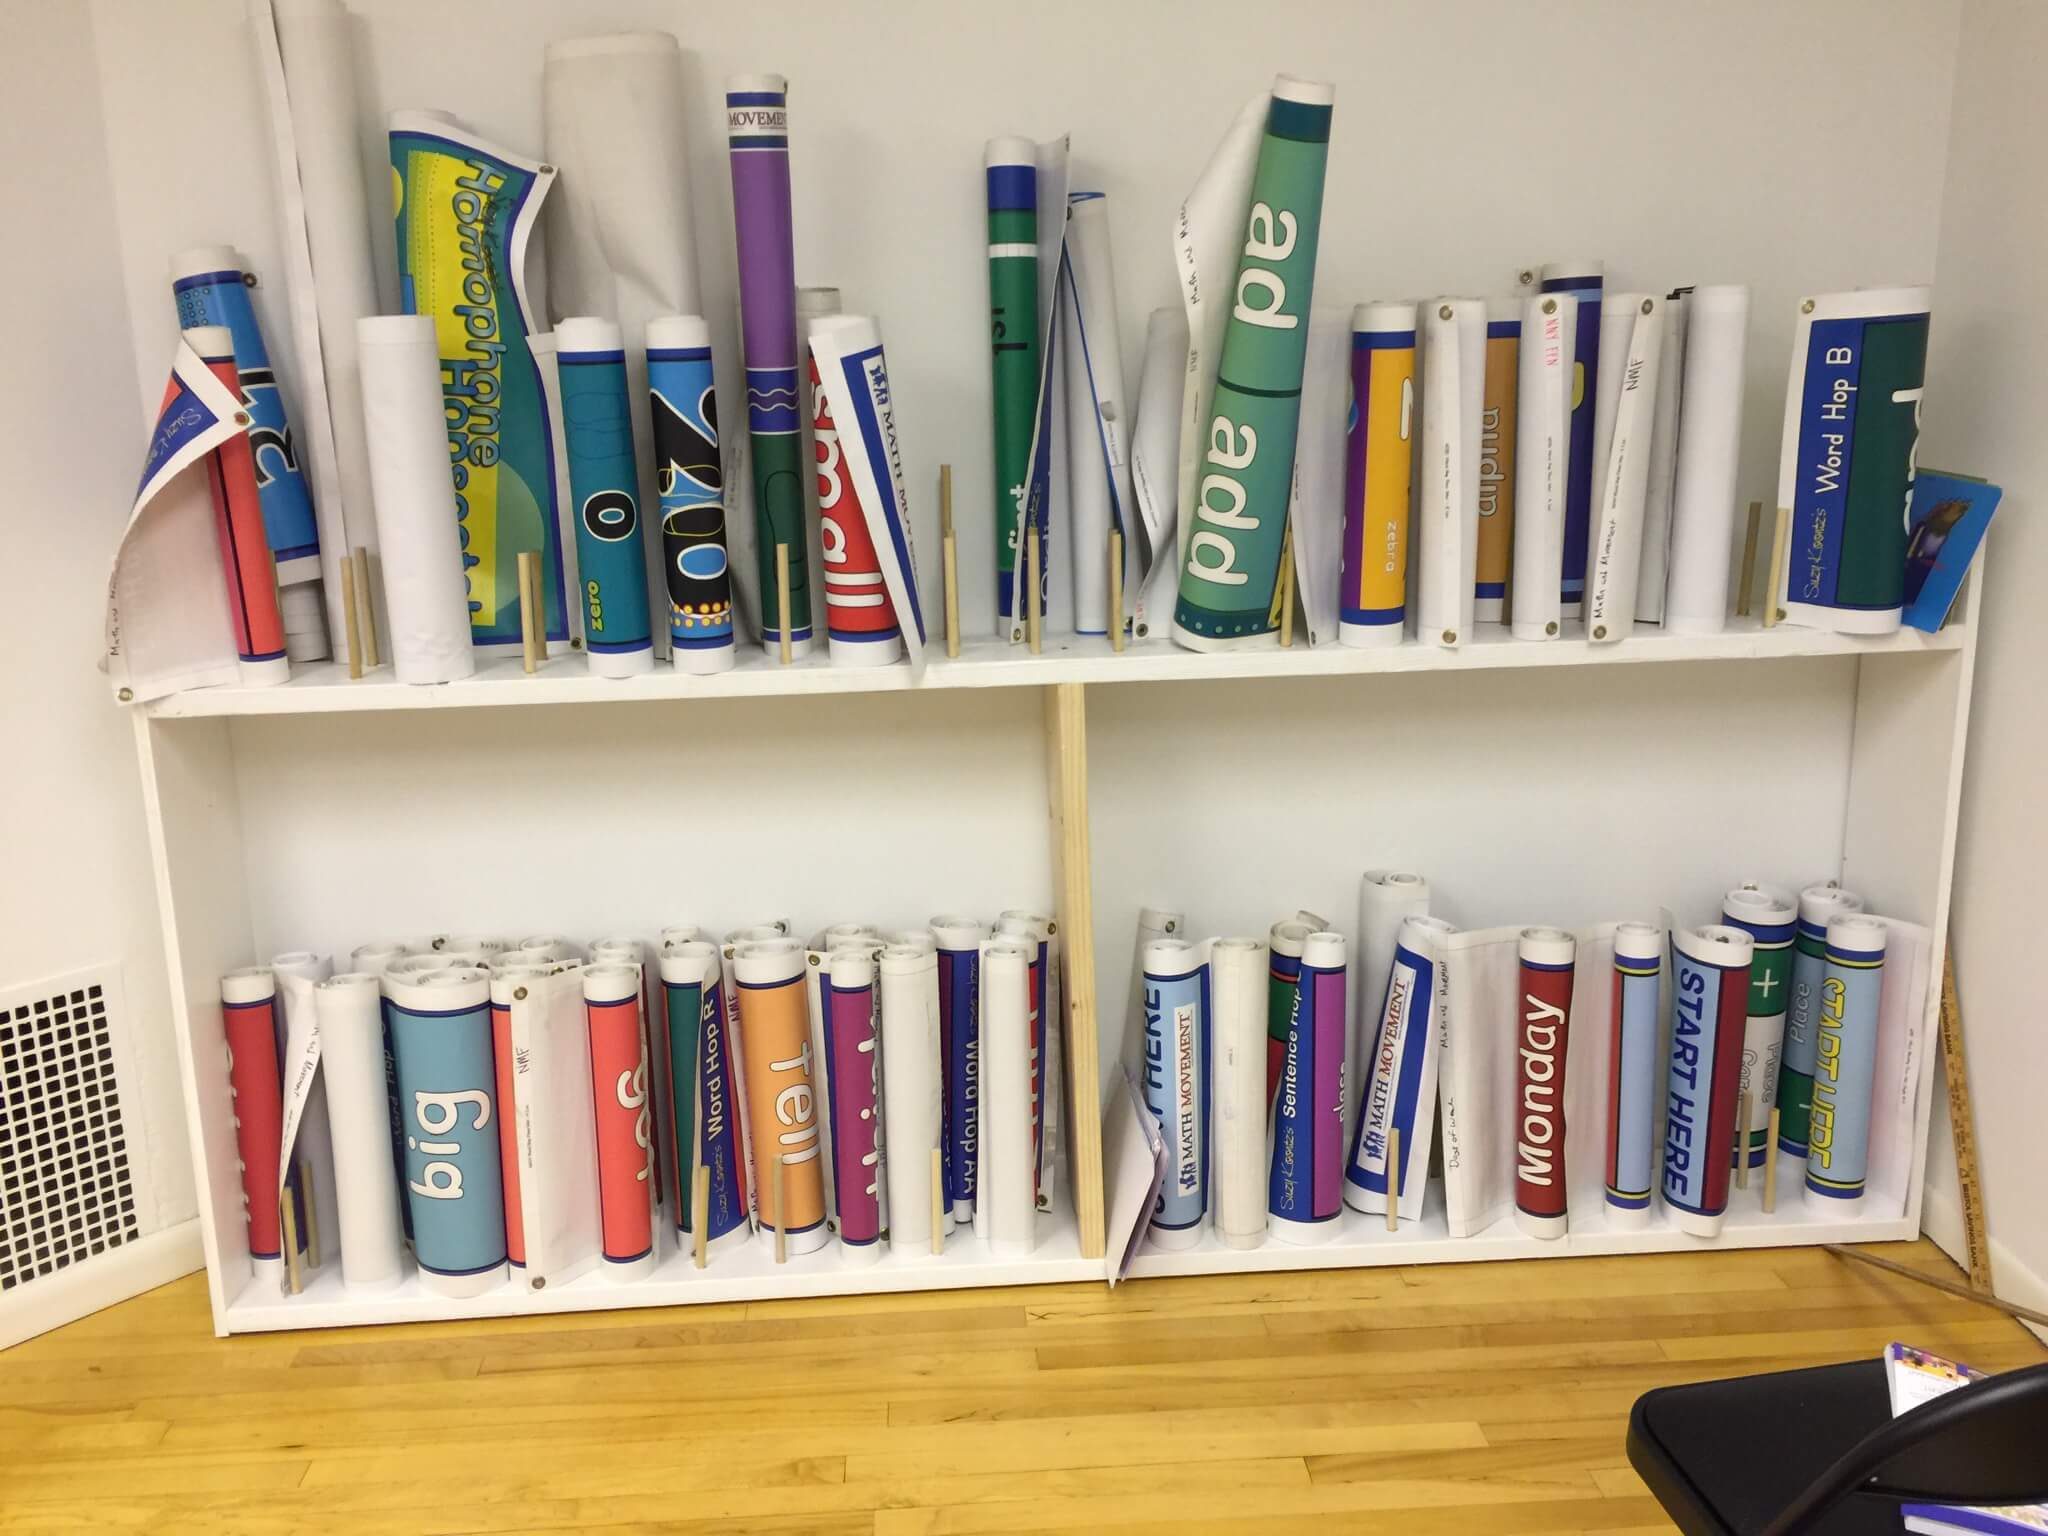
When mats are not in use, we recommend rolling them up. For the larger square mats, folding may be necessary. If you have access to a storage closet or space in your classroom for extra materials, that may be a good place to store the mats.
We have storage options available to purchase here.
We also have created instructions for building your own storage unit.
Download Storage Unit Instructions
Yes—always use tape to secure the floor mats. Tape the top of the floor mat on the left and right corners. Tape the bottom of the floor mat on the left and right corners. Tape the middle of the mat on both sides of the floor mat. We recommend Scotch 3M packaging tape.
All of our Math & Movement and Movement Literacy floor mats will work great with carpeted classrooms and hallways. We recommend either taping the mats with Scotch 3m packing tape or creating velcro stations. However, many schools that have carpets in their buildings do not tape or velcro the floor mats.
We also just released a line of carpet stickers. Check them out here.
All of our mats and stickers are printed on latex-free materials. Our mats are extremely durable, lasting years with proper care. Our stickers are ‘janitor approved’ and can be waxed over to improve durability in high traffic areas.
Our floor mats are made of vinyl, not fabric, but they can be placed on classroom floors to display popular math and literacy concepts just like a classroom learning rug. Plus, our floor mats are easy to roll up and put away when you’re ready to move on to the next concept!
Although the materials are very durable, you might notice some dirt or scuff marks if students are using them with their shoes on. To clean the mats and stickers, mix a solution of soap and water in a spray bottle. Spray down the materials and wipe with a cloth.
Clean floor prior to installation. Sweep area, and then mop with water and dawn dish soap. Let dry for 30-60 minutes. Then, apply denatured alcohol with a clean mop. Only install vinyl stickers on clean, dry surfaces.
Step 1: Unroll your vinyl stickers and allow them to lay flat for 24-48 hours prior to installing
Step 2: Align the sticker in desired location and position
Step 3: Peel the backing of the sticker 3″ to 6″ and firmly press the exposed sticker to the floor (Note: Make sure the sticker does not shift during this process)
Step 4: Pull the sticker over top of itself leaving the first 3″ to 6″ adhered to the floor
Step 5: Peel the backing completely off
Step 6: Using a squeegee, hold the sticker vertically from the ground and push the squeegee along the sticker while keeping tension on the sticker
Complete!
Any small bubbles can easily be worked out or pricked with a pin to release the air underneath. Our stickers are intended to be permanent and not re-positional.
Please note that there are a lot of factors that go into the longevity of your stickers. At this time, it is hard for us to offer a guarantee because of the numerous factors that go into play with installing and maintaining the stickers, i.e, surface prep, and cleaning variables.
We use top-tier sticker material (3M) and laminate to protect the stickers. However, we also recommend applying water-based wax layers over the stickers after they have been applied. The wax will help protect the stickers from foot traffic and cleaners (though please note that we recommend mopping the stickers by hand with soap and water). We do not recommend using a floor scrubber or other automated floor cleaning machine as this may damage the stickers.
Also, before applying the wax please test it with the sample pieces we have included in your order. It is important to make sure the wax does not affect the stickers. Multiple wax layers will protect the stickers. However, we still do not recommend using harsh chemicals or striping the floors where the stickers are installed.
Summer or winter breaks are great times to install Sensory Hallways! Many schools also install the stickers after school, on a day when students are not present, or on the weekends. Placing the stickers is relatively quick! However, the cleaning prep needed to make the stickers adhere to the surfaces can take a little longer depending on the surface area that needs to be cleaned. See our guide on How to Install Stickers to learn more!